
Windows Honeypot - Running a React Honeypot using docker
Windows Honeypot - Running a React Honeypot using docker
A small introduction to Honeypots
A honeypot is a controlled and safe environment to show how attackers work. Used to analyze different types of threats. A honeypot is a decoy that looks like a real application to lure cyber attackers. Honeypots contain logging software like Grafana or Elasticsearch to log all the activity that’s happening on the application. This data can be used to optimize the real application.
What we will be building
We will be building a React Application honeypot hosted on windows using docker containers. The honeypot will contain the logging software of Grafana and Loki to see the activity on the website.
Docker
Docker is an open source containerization platform. Developers can package an application and deploy it that way. We will use this to deploy the honeypot itself. If you want to learn more about Docker here are some resources to learn more about it.
- https://docs.docker.com/
- https://aws.amazon.com/docker/
- https://docker-curriculum.com/#getting-started
React
React is a JavaScript library developed by Facebook. React is component-based and widely used by developers. We will use this to create the web app itself. Here are some resources to learn more about it.
- https://reactjs.org/docs/getting-started.html
- https://reactjs.org/tutorial/tutorial.html
- https://www.w3schools.com/REACT/DEFAULT.ASP
Grafana Stack
Grafana is an open-source analytics and visualization web application. It provides charts; graphs, and alerts for the web when connected to supported data sources. This will be our place to check the logs of the React application.
Loki is a log aggregation system designed to store and query logs from your application. Here are some resources to learn more about Loki and Grafana.
Setting up the environment for the POC honeypot
Installing the React framework
First of all, we need to have the React framework installed on the PC.
Install NodeJS
The first thing we need to have is NodeJS
You can download it here using this link:
https://nodejs.org/dist/v16.14.2/node-v16.14.2-x64.msi
I recommend using this version of Node because it is a bit more stable with React in my experience.
After this is installed open the terminal and check if it installed correctly with this command:
Node --version
Also check this for npm:
npm -v
Installing Docker Desktop
You can install Docker Desktop from here:
https://hub.docker.com/editions/community/docker-ce-desktop-windows
Just double click the installer and install the software.
You can use this command to see if it was successful:
docker versionOnce Docker is running it should look like this:
This is everything you need to have installed in order to continue.
Getting a React Application
For this part, we need to have a React Application ready to use for the Honeypot itself. You can choose a pre-made application or make your own. I will go over both on how to get one ready.
Creating your own Application
Open your windows terminal and create a react application using this command:
npx create-react-app my-appThis can take a while before it is finished.
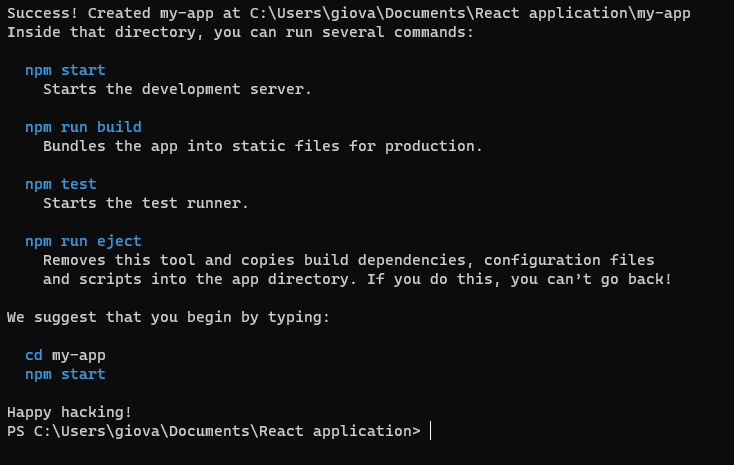
It should look like this once it is finished.
you can go inside this folder with this command:
cd my-apponce you are in this folder you can start the application using:
npm start 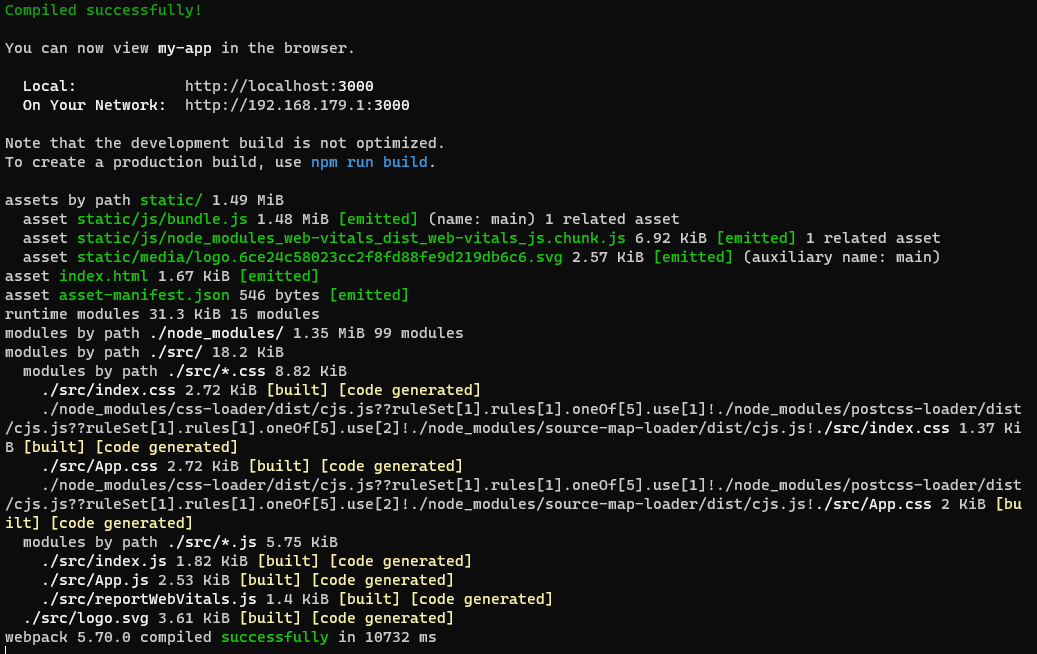
Once the app compiles successfully, You can view the result on http://localhost:3000/
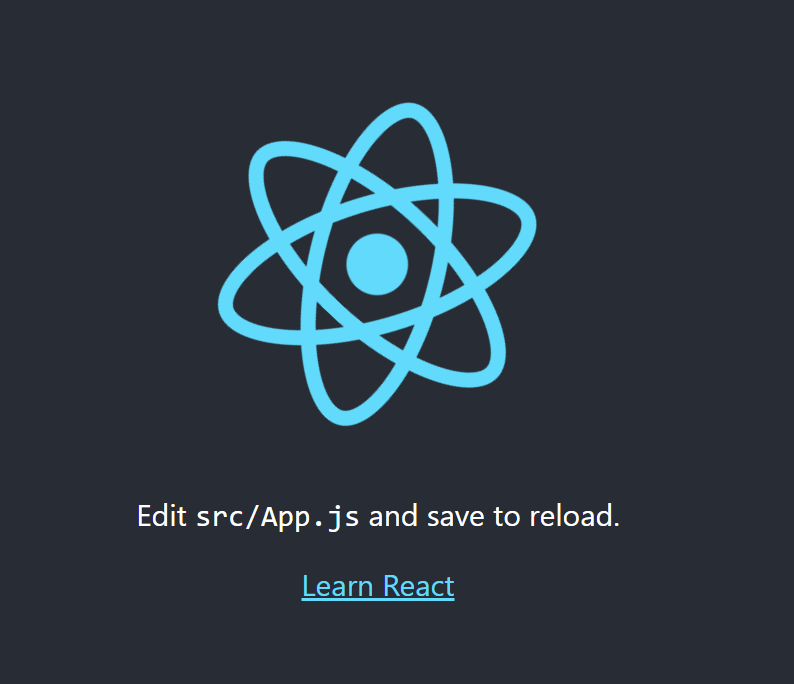
This is the basic React application out of the box. You can start coding your application from here.
Using a pre-made application
There are a lot of templates you can use out there on the world wide web. You can search around and pick one you like. This can be a lot faster than coding one yourself. My personal favorites are E-commerce store templates because they give a lot of opportunities for cyber attackers to exploit.
I will be using a business landing page template. You can get it from here:
npx create-react-app landing --template adrinlolYou can run it the same way as your own app.
cd landingnpm start
This is not the most ideal website for a Honeypot because it doesn’t have a lot of interaction but it will do for the explanation on how to set the honeypot up. An E-commerce website is a better option but that is a lot harder to do since you will need a database etc. But setting the honeypot itself up with an E-commerce site would be the same as we will do now.
Preparing the React application to run in a Docker Container
Now that we have an application we need to run it on a server in a Docker container. I will be using an NGINX server. The first thing we need to make is a dockerfile.prod file to use to set up the application and the NGINX server. Open the folder of the react app in Visual Studio Code and create a dockerfile.prod in the root folder.
Create the file with the new file icon the most left icon at the top
Now we need to add some code to get the application running in the container. Edit the docker file and add this code to it:
# build environment
FROM node:13.12.0-alpine as build
WORKDIR /app
ENV PATH /app/node_modules/.bin:$PATH
COPY package.json ./
COPY package-lock.json ./
RUN npm ci --silent
RUN npm install react-scripts@3.4.1 -g --silent
COPY . ./
RUN npm run build

# production environment
FROM nginx:stable-alpine
COPY --from=build /app/build /usr/share/nginx/html
EXPOSE 80
CMD ["nginx", "-g", "daemon off;"]
This code will download all the necessary dependencies needed to run the app and start the Nginx server with the application in it.
You can also make a .dockerignore file and add the folders and the files docker doesn’t need to know about in it. This will speed up the building process.
node_modules
build
.dockerignore
Dockerfile.prod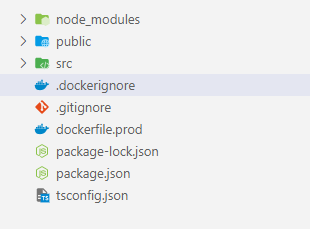
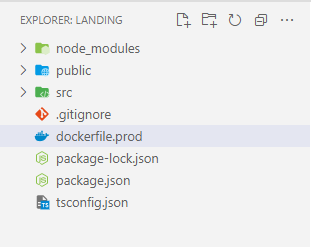
The root folder of the application should now look like this. The React App itself is ready to be run in a docker container.
Start with building the project:
docker build -f dockerfile.prod -t sample:prod .-foption specifies the docker file that will be used to build the project-toption tags the build to be run later with this name- The name of the container in this case will be “sample”
- The tag of the container will be “prod”

If you run into a Python not found error when building add this line to the docker file
# add this line after COPY package-lock.json
RUN apk add --update python make g++ && rm -rf /var/cache/apk/*
This can be the issue when you are running node version 17.x.
You can run the app with this command:
docker run -it --rm -p 1337:80 sample:prod--rmwill remove intermediate containers after a succesfull build-pis used to set the port-itis short for--interactive+--tty.When youdocker runwith this command it takes you straight inside the container.
The application will be available at http://localhost:1337/
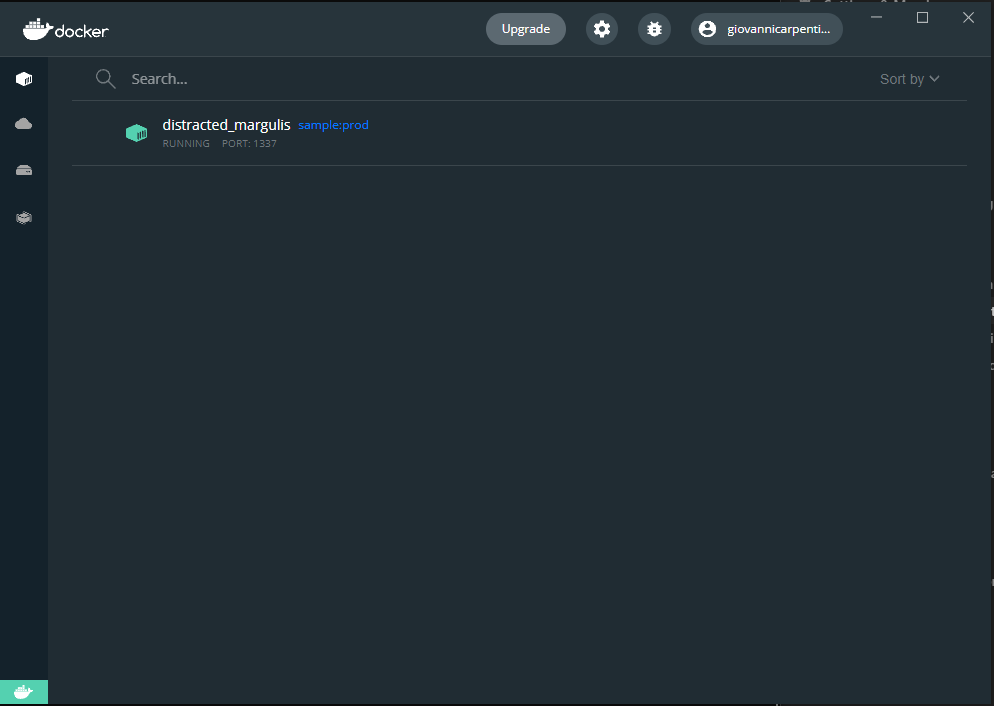
You can also check the container in the docker desktop app
Logging the application with Grafana and Loki
The next step is now to get the logs produced by NGINX in a dashboard to analyze the data. We will be using Grafana as the dashboard en Loki as the middleman to get the NGINX logs to Grafana.
The first thing we need to do is create the config files used by loki and grafana.
Create a config folder in the root of the react application:
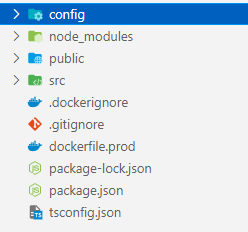
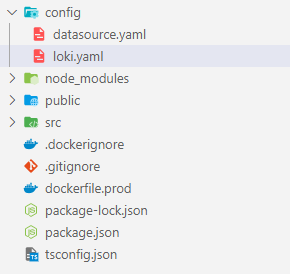
Create 2 new files in that folder.
- datasource.yaml
- loki.yaml
Now edit the datasource.yaml file and add this:
# config file version
apiVersion: 1

deleteDatasources:
  - name: loki

datasources:
- name: loki
  type: loki
  access: proxy
  orgId: 1
  url: http://loki:3100
  basicAuth: false
  isDefault: true
  version: 1
  editable: false
This will add loki as a data source in grafana and we will be able to get the logs inside grafana.
Now edit the loki.yaml file and add this code:
auth_enabled: false

server:
  http_listen_port: 3100

ingester:
  lifecycler:
    address: 127.0.0.1
    ring:
      kvstore:
        store: inmemory
      replication_factor: 1
    final_sleep: 0s
  chunk_idle_period: 5m
  chunk_retain_period: 30s

schema_config:
  configs:
  - from: 2018-04-15
    store: boltdb
    object_store: filesystem
    schema: v9
    index:
      prefix: index_
      period: 168h

storage_config:
  boltdb:
    directory: /tmp/loki/index

  filesystem:
    directory: /tmp/loki/chunks

limits_config:
  enforce_metric_name: false
  reject_old_samples: true
  reject_old_samples_max_age: 168h

chunk_store_config:
  max_look_back_period: 0

table_manager:
  chunk_tables_provisioning:
    inactive_read_throughput: 0
    inactive_write_throughput: 0
    provisioned_read_throughput: 0
    provisioned_write_throughput: 0
  index_tables_provisioning:
    inactive_read_throughput: 0
    inactive_write_throughput: 0
    provisioned_read_throughput: 0
    provisioned_write_throughput: 0
  retention_deletes_enabled: false
  retention_period: 0
This will configure loki itself on what port it will listen etc.
The final step is to create a docker-compose.prod.yaml file to specify the 3 services that will be running.
- The React Application
- Grafana Dashboard to view the logs
- Loki to get the logs from NGINX to Grafana
Create the docker-compose.prod.yaml in the root folder of the react application and add this code to it:
version: '3.7'

services:
  grafana:
    image: grafana/grafana:8.4.4
    volumes:
    - ./config/datasource.yaml:/etc/grafana/provisioning/datasources/datasource.yaml
    ports:
    - "3000:3000"

  loki:
    image: grafana/loki:v1.3.0
    volumes:
    - ./config/loki.yaml:/etc/config/loki.yaml
    entrypoint:
     - /usr/bin/loki
     - -config.file=/etc/config/loki.yaml
    ports:
     - "3100:3100"

  react:
    container_name: react-app
    build:
      context: .
      dockerfile: dockerfile.prod
    ports:
      - '1337:80'
    logging:
      driver: loki
      options:
        loki-url: http://localhost:3100/loki/api/v1/push
        loki-external-labels: job=dockerlogs
This will tell Docker to create 3 containers and configure them all accordingly to the config files. Once this is done we can build and run again using docker composer.
docker-compose -f .\docker-compose.prod.yaml up -d --build
You should see all the 3 containers running in Docker. You can access you website at http://localhost:1337/, and the grafana dashboard at http://localhost:3000/. You can login using the credentials admin admin.
You see the logs of the react application here, on the left side you have some navigation icons. Click on the compass to explore the logs.
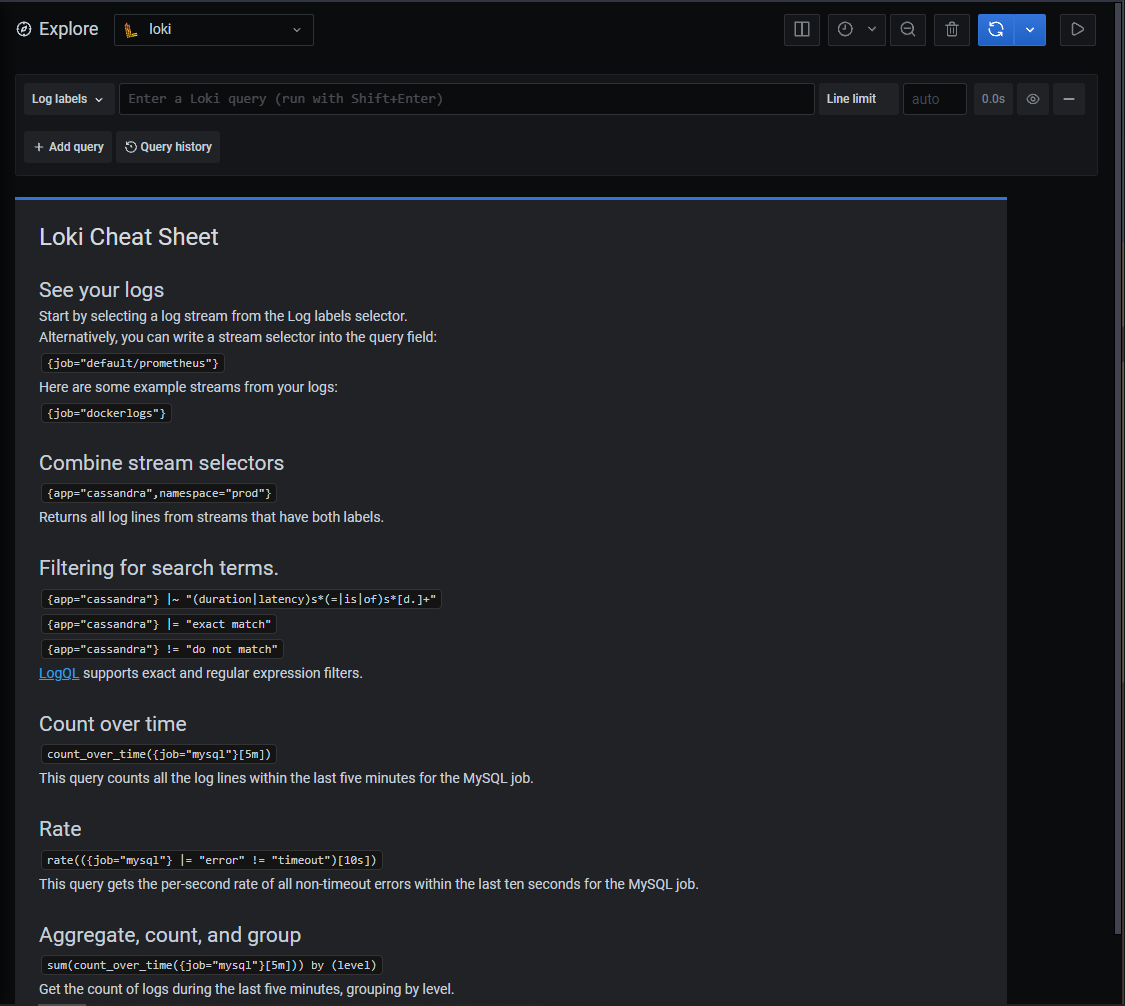
You should see a screen like this. Press on the {job=“dockerlogs”} (This will filter to only show the logs of the React web app) or type it in the query. Press the play button at the right top. this will enter live mode.
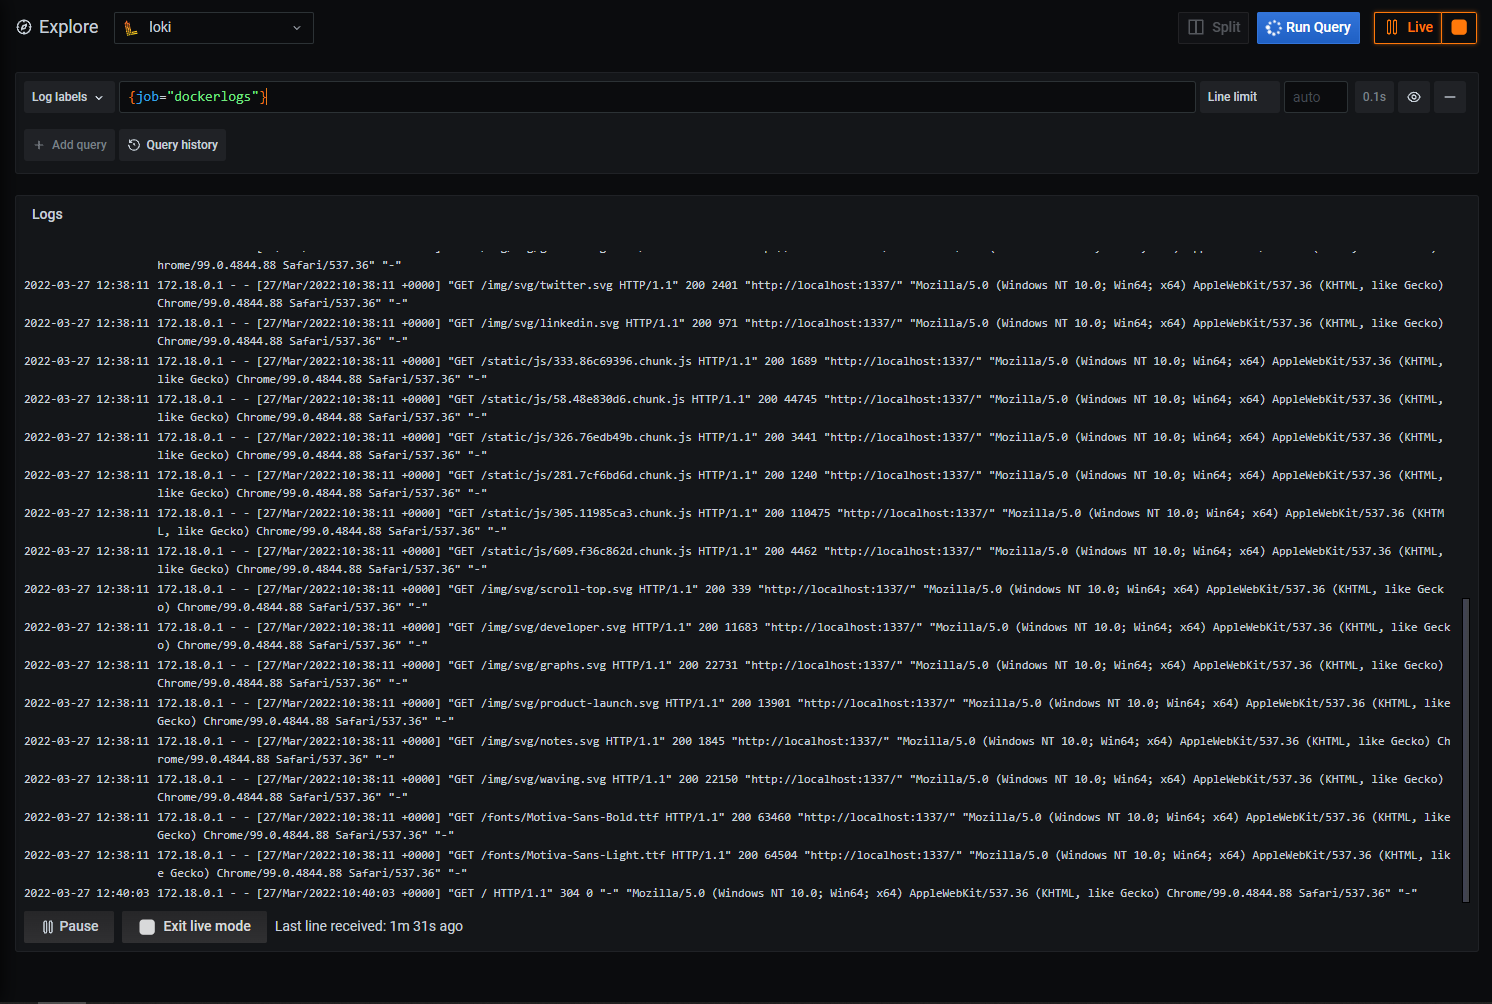
You can see the live logs coming in now. If you go to you react app or reload it if you are already on it. You should see new logs pop up. You can do all sorts of cool stuff with Grafana to analyze the logs I recommend reading through the documentation to get a deeper understanding of it. I linked some recourses at the top of this document.
Conclusion
You now have a complete honeypot running on your windows machine using docker. This however is just a concept of how it would work since the website we used isn’t ideal for it you can’t get a lot of interesting logs out of it but it made the concept of a honeypot clear. You can experiment further with different websites maybe one with a lot of user interaction. You can learn the ins and outs of Loki queries to get the most value out of your logs.